





Estimated reading time: 4 minutes
Originally published March 13, 2023.
How To Set Up Google Analytics 4 On Your Showit Site Without Bypassing Cookie Consent
Setting up Google Analytics 4 on a Showit website is straightforward, but most tutorials skip the step that matters for compliance: loading GA4 through your cookie consent banner so tracking only fires after a visitor consents. This guide covers account creation, property setup, measurement ID placement, key event tracking, and the consent-safe connection.
That last step matters. Showit includes a built-in field for GA4 measurement IDs, and nearly every tutorial tells you to paste your ID there and publish. The field works. It also loads Google Analytics for every visitor the moment the page opens, before anyone sees or answers your cookie banner. If your site uses a consent banner from Termageddon and Usercentrics, the built-in field bypasses it completely. This guide covers the setup that works and complies.
In This Guide
- What Is Google Analytics 4
- The Consent Problem With Showit’s Built-In Analytics Field
- Create A Google Analytics Account
- Set Up A Web Data Stream And Enhanced Measurement
- Find Your GA4 Measurement ID
- Connect GA4 Through The Termageddon plugin using the Usercentrics Banner
- Verify The Connection
- Set Up Key Events
- Use GA4 Reports To Understand Visitor Behavior
- Link Google Search Console To GA4
- Troubleshoot GA4 On Showit
- Why Track Analytics On A Showit Site
What Is Google Analytics 4
Google Analytics 4 tracks visitor behavior on your website. The platform measures pageviews, user sessions, and specific actions your visitors take. Every visitor arrives with an intent. Analytics reveals what that intent is and whether your site satisfied it.
GA4 works across web and mobile environments. It uses event-based tracking instead of the session-based model of older versions. This means you record specific user actions: form submissions, product views, checkout steps, downloads. Each action is an event. Events combine into user journeys.
The value of GA4 is visibility. You see which pages attract visitors. You see where visitors leave. You see what actions lead to key events. You operate from data instead of assumption.
The Consent Problem With Showit’s Built-In Analytics Field
Showit’s Site Settings include a Third-Party integrations panel with a Google Analytics field. Paste a measurement ID there and Showit injects the GA4 tracking code on every page of your site. This is technically correct and it is the setup most guides recommend.
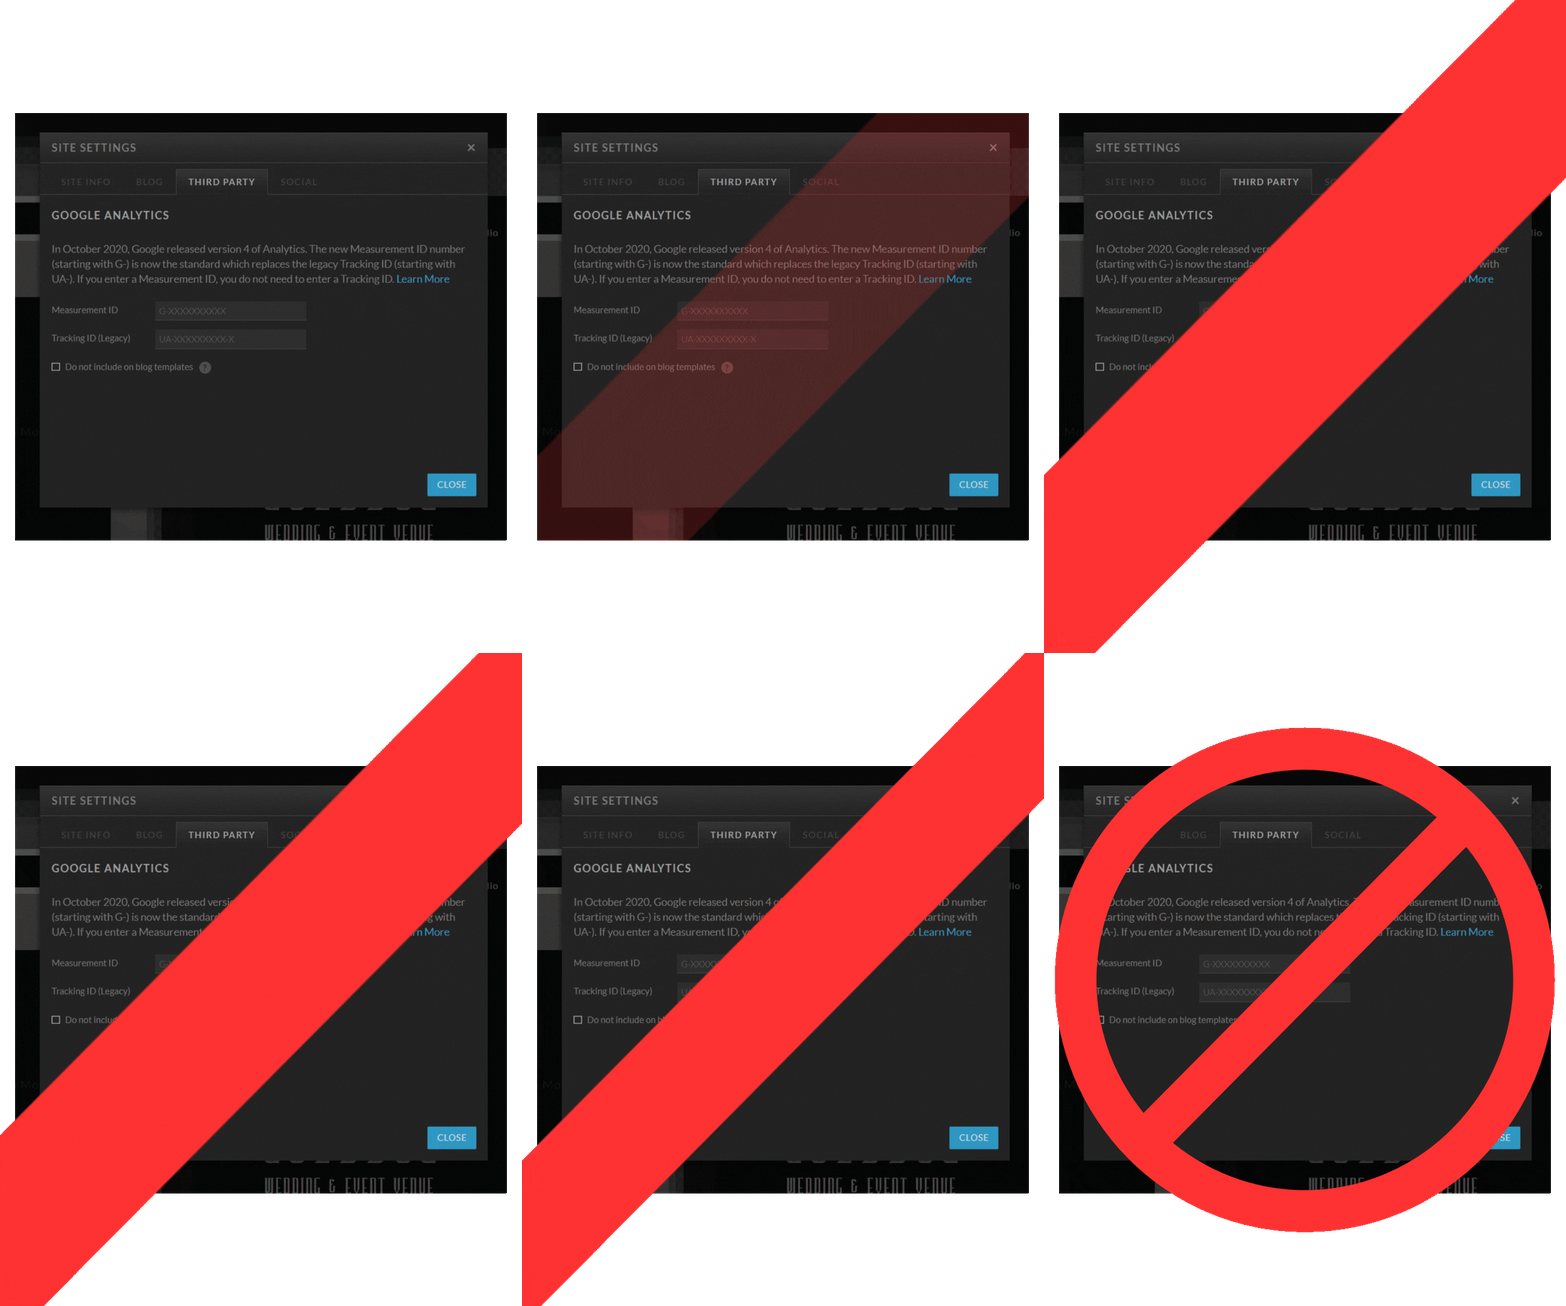
But here is the problem. Code added through that field runs immediately on page load. Google Analytics sets its cookies, including the _ga identifiers, before your visitor has answered the consent banner. The banner asks a question the site has already answered on the visitor’s behalf.
That sequence conflicts with the privacy laws your cookie banner exists to satisfy. GDPR and the ePrivacy rules in the EU and UK require consent before non-essential cookies are set. A growing list of US state privacy laws requires honoring opt-outs. It also makes your published Cookie Policy inaccurate, because the policy states that analytics cookies load only with consent while your site sets them unconditionally.
The fix is not to skip analytics. The fix is to load GA4 through your consent management platform instead of around it. For Morris & Co. Marketing client sites, that platform is the Usercentrics consent banner included with Termageddon.
Create A Google Analytics Account
Start with a new Google Analytics account if you do not have one.
Sign up at google.com/analytics. Use the same Google account you use for Google Search Console and Google Ads. Consistency across Google tools makes tracking easier.
During signup, Google asks for your website URL and industry category. Enter your Showit domain. Select your industry from the dropdown. These details help Google configure default reports.
Next, create a GA4 property. A property is the tracking container for one website. If you manage multiple sites, create one property per site.
Accept Google’s data collection terms. Review the terms before accepting. They explain how Google processes your analytics data.
Set Up A Web Data Stream And Enhanced Measurement
A data stream tells GA4 where your analytics data comes from. Showit websites use web data streams.
In the GA4 property settings, navigate to Data Streams. Select Web. Enter your Showit site URL. GA4 generates a measurement ID starting with G-.
Enable Enhanced Measurement. This setting automatically tracks certain events without additional code. Pageviews, scrolls, outbound clicks, and file downloads record automatically. For Showit sites, Enhanced Measurement handles most basic tracking. Unless your site has complex tracking requirements, Enhanced Measurement is sufficient.
Find Your GA4 Measurement ID
The measurement ID is the key to connecting Showit to GA4. Locate it in Data Streams.
- In your GA4 property, go to Admin.
- Under the Property column, select Data Streams.
- Click the web stream you created.
- The Measurement ID appears at the top of the stream details. It looks like G-XXXXXXXXXX.
- Copy this exact string.
Keep the ID handy. You will use it inside the consent-controlled script in the next section, not in Showit’s built-in field.
Connect GA4 Through The Termageddon plugin using the Usercentrics Banner
To connect GA4 to your Showit site, you MUST connect GA4 through the Termageddon plugin, or a similar consent plugin installed on WordPress.
Showit runs on WordPress. Your page design is served via the app.showit.com drag-and-drop builder, while your page content and blog posts are served directly through WordPress.
This is the only setup that records analytics data and respects user-consent.
1. Leave Showit’s Google Analytics field empty. Anything placed in the Third-Party integrations field loads outside the consent banner’s control. If you previously pasted your measurement ID there, remove it, then re-publish your Showit design.
2. Install the Termageddon plugin. Your Termageddon dashboard provides the Usercentrics banner embed code as part of your privacy policies that stay automatically updated! So once you’ve done the easy-privacy checklist via Termageddon, it’s time to install the Termageddon: Cookie Consent & Privacy Compliance by termageddon – plugin and activate it.
3. Select ‘Google Analytics 4’ from the Service dropdown field. The value in data-usercentrics must match the service name listed in your Termageddon Cookie Policy questionnaire exactly. If your policy lists the service as Google Analytics 4, the attribute must read Google Analytics 4. A mismatch means the banner never releases the script, or releases it under the wrong category.
4. Add the Google Analytics (GA4) script to the Termageddon plugin. Add the GA4 snippet with both script tags to the Usercentrics control attributes; that code will look like the example below but replace ‘G-XXXXXXXXXX’ with your Google Tag ID.
The type=”text/plain” attribute stops the browser from executing the script on load. The data-usercentrics=”Google Analytics 4″ attribute hands control to the banner, which activates the script only after the visitor consents. Replace G-XXXXXXXXXX with your measurement ID in both places.
Termageddon also supports Google Consent Mode v2, which sets default consent states to denied and updates them when the visitor responds. If you run Google Ads alongside GA4, configure Consent Mode from the Termageddon dashboard and follow their Consent Mode instructions. Advanced Consent Mode can send cookieless pings to Google for modeling purposes before consent; Basic Consent Mode holds every tag until consent is granted. Choose based on your privacy posture, and document the choice in your Cookie Policy.
Verify The Connection
Verification now has two halves: confirm tracking works after consent, and confirm nothing fires before it.
First, the before state. Open your site in a private browser window. Before interacting with the banner, open your browser’s developer tools, go to the storage or cookies panel, and confirm no _ga cookies exist. If they appear before you consent, a script somewhere still loads unconditionally. Check Showit’s Third-Party field and your head code.
Then, the after state. Accept the banner. Reload the page. The _ga cookies should now appear. In GA4, open the Realtime report from the Home screen. Your visit should register in Active users within seconds. This confirms GA4 receives data from Showit under consent control.
Set Up Key Events
GA4 tracks two types of events: automatically collected events and custom events. Pageviews and clicks are automatic. The actions that matter to your business are custom, and GA4 calls the ones you mark as important key events (Google’s current name for what were previously called conversions).
Define what a key event is for your site. A contact form submission. A product purchase. A download. A booking request.
Create the event in GA4 Admin. Under the Property column, select Events, then Create Event. Name the event and select the trigger condition. If your Showit contact form sends visitors to a thank you page, trigger the event when a visitor lands on that page path. Then mark the event as a key event so it appears in your reports.
One consent note: key event counts reflect consented visitors. A visitor who declines analytics cookies completes your form without appearing in the report. Expect reported numbers to run below your inbox count. That gap is the consent system working, not a tracking failure.
Photographers tracking where inquiries come from can go further with UTM tagging. GA4: A Guide To Google Analytics 4 For Photographers includes copy-and-paste UTM templates for The Knot, WeddingWire, and other listing profiles.
Use GA4 Reports To Understand Visitor Behavior
After one to two days of data collection, GA4 starts populating reports.
The Acquisition report shows which channels bring visitors: direct traffic, organic search, referrals, and paid campaigns. The Engagement report shows which pages hold visitor attention and where visitors leave. The report on key events counts the actions you defined and shows which pages and channels produce them. The Audience report breaks down visitors by device, browser, and geography.
Use these reports monthly. Track trends. Identify pages with high traffic where visitors leave without acting, and improve their content. Identify pages that produce key events, and point more internal links at them.
For deeper reporting work, read GA4: A Guide To Google Analytics 4 For Photographers on the Morris & Co. Marketing blog. It covers custom dimensions, segments, report filters, and cross-domain tracking for booking tools like Dubsado.
Link Google Search Console To GA4
Google Search Console supplies keyword data that GA4 cannot access on its own. GA4 shows that visitors came from organic search. Search Console shows which search queries brought them.
In GA4 Admin, find the Search Console links section. Click Link, select your Showit site property, and confirm. After linking, the Acquisition section displays organic search queries alongside behavior data, so you know which queries bring traffic and which of those queries produce key events.
For the full workflow, read How To Use Google Search Console To Refine Keywords on the Morris & Co. Marketing blog.
Troubleshoot GA4 On Showit
If Realtime shows no activity after you have accepted the banner, verify the measurement ID. Copy it directly from GA4 and repaste it into both script tags. Confirm the data-usercentrics value matches your Cookie Policy service name exactly.
If _ga cookies fire before consent, something still loads GA4 outside the banner: check the Showit Third-Party field, your Showit head code, and any WordPress plugin that injects analytics.
Clear your website cache after every change. Cached pages serve old script versions.
GA4 takes up to 48 hours to display full reports. If Realtime records activity but standard reports are empty, wait before troubleshooting further.
Note: Remember that consent-based tracking reports consented visitors only. Comparing GA4 numbers against server logs or Showit’s own traffic counts will always show a gap.
Why Track Analytics On A Showit Site
Guessing how visitors behave wastes marketing effort. You might rework pages nobody visits. You might miss opportunities on pages that already produce inquiries. Analytics removes the guesswork, and a consent-controlled setup removes the legal exposure that unmanaged tracking creates.
With GA4 connected through your Termageddon and Usercentrics banner, you operate from evidence collected the right way. You know visitor counts, traffic sources, and which actions produce key events. The data informs every content decision, from which blog posts to write next to which pages need attention first.
Related reading on the Morris & Co. Marketing blog: Get Google To Crawl Your Showit Site, How Showit Sitemaps Work And Why They Matter For SEO, and 7 Signs Your Showit Site Needs SEO Optimization.
Questions about Google Analytics 4 or consent setup on Showit? Visit the MoCo.Marketing contact page to discuss your analytics setup.
Written by Stefanie Morris, founder of Morris & Co. Marketing. Last reviewed August 2026.


